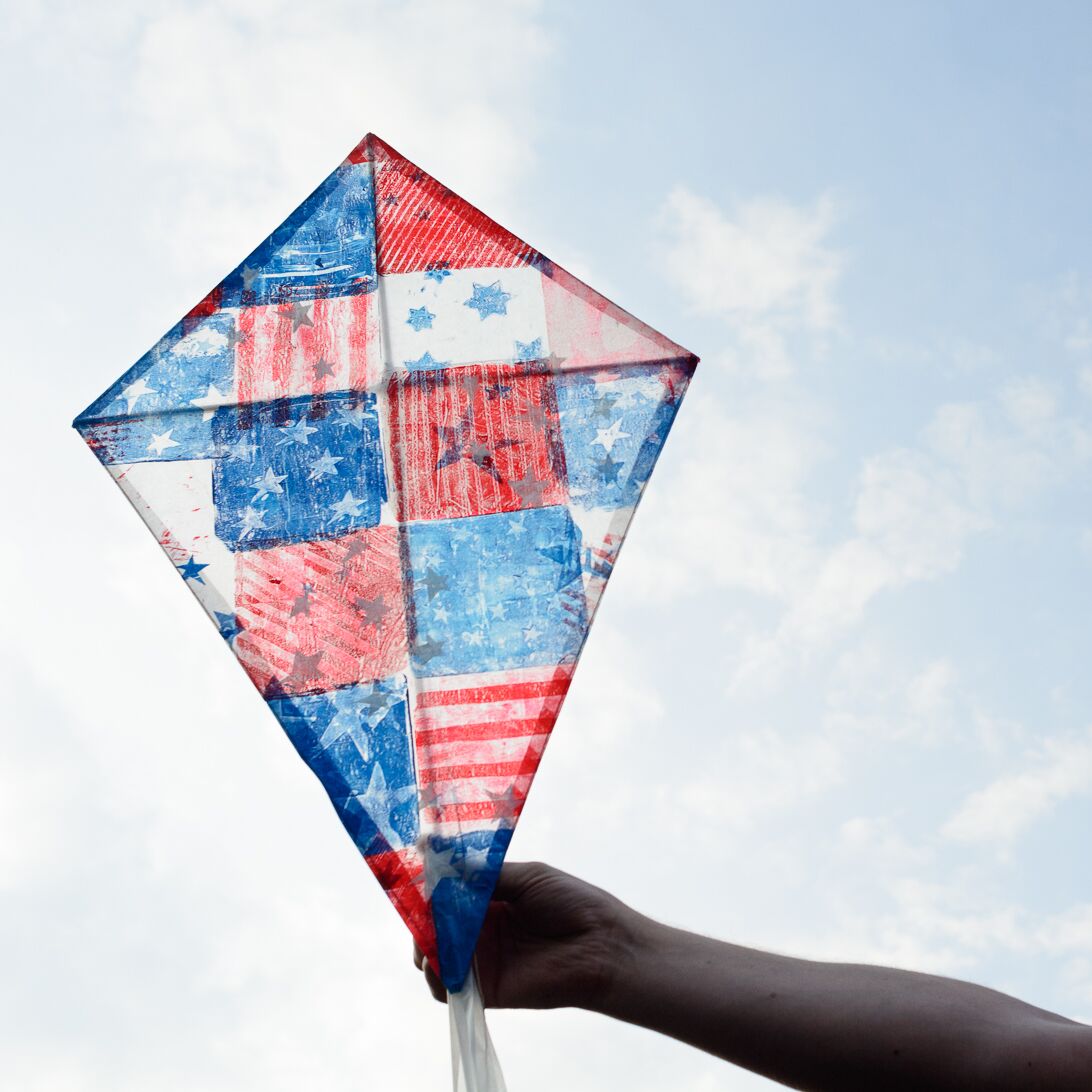
Hi there! My name is Marsha Valk and I�m excited to share this simple diamond kite! It is easy to make, fun to create and also loads of fun to play with once it�s done!

Preparations:
First decide on how tall you want your kite to be. This determines the length of the dowels you�ll need and also the measurements of the paper needed to create the sail.
For a diamond kite you need two wooden dowels with a fixed size ratio of 3:2. The kite paper I used happened to be a little over 27.5� tall, so I used a small hand saw to trim my long dowel to 27.5� and then my short dowel automatically had to have a length of 18.33�.
Cut a little notch in each end of the dowels. This is where the string will be attached later on.

I trimmed my paper sheet down to slightly larger than 27.5� x 18.33�. Kite paper is a translucent glossy lightweight paper and you can easily substitute it with deli paper or even something like newspaper.
Mark makers and printing plates:
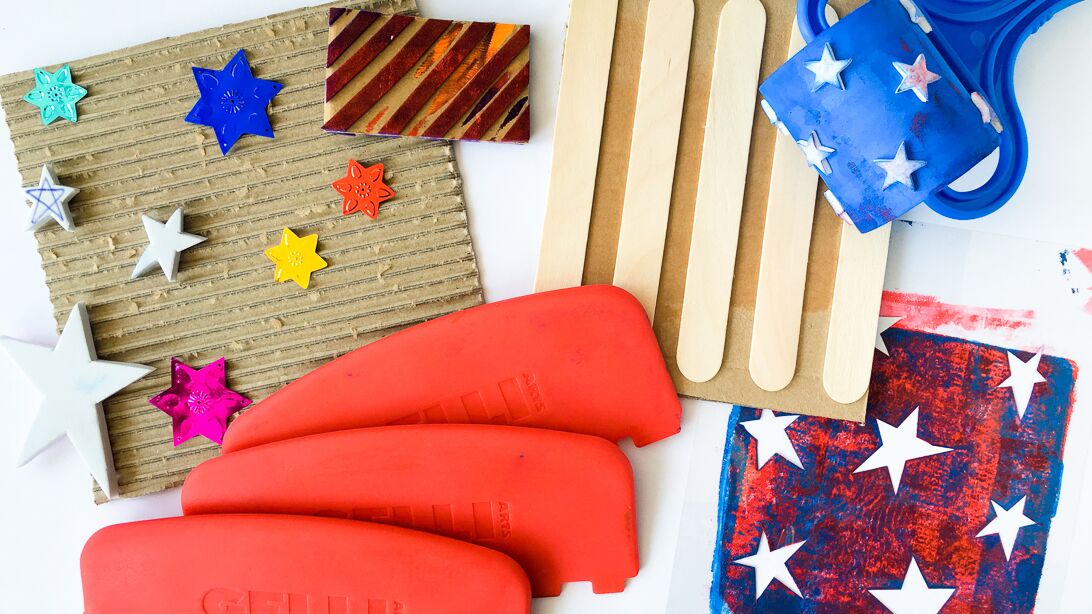
I wanted the kite to have stars and stripes. So I went to look for mark making tools that could make stripes or stars.
The stripes were easy enough: stripped corrugated cardboard, a handmade foam stamp and the Gelli� Arts Square Edge Tools would do the trick. I also created a broad striped printing plate by adhering a couple of craft sticks to a piece of cardboard.

Printing:
Apply acrylic paint to the Gelli� plate of your choice. I used the 5" x 5� Student Plate.
Make marks with the stars and stripes tools. You�ll only need a thin layer of paint for each print. Too much paint will buckle the paper. Be sure to clean the plate and the brayer when you switch to another paint color.
Watch my video to get a better idea of how I did it!

Once you�ve got the whole paper covered, you can add some stenciling or more stamped images on top.
Assemble the kite:
Tape the two wooden dowels together with strips of duct tape, as tight as possible. The short dowel should be placed at exactly 1/3 of the long dowel (in my case at 9.2� from the top).

Run the string along the notches in the dowels. Start at the bottom and end with a little knot.
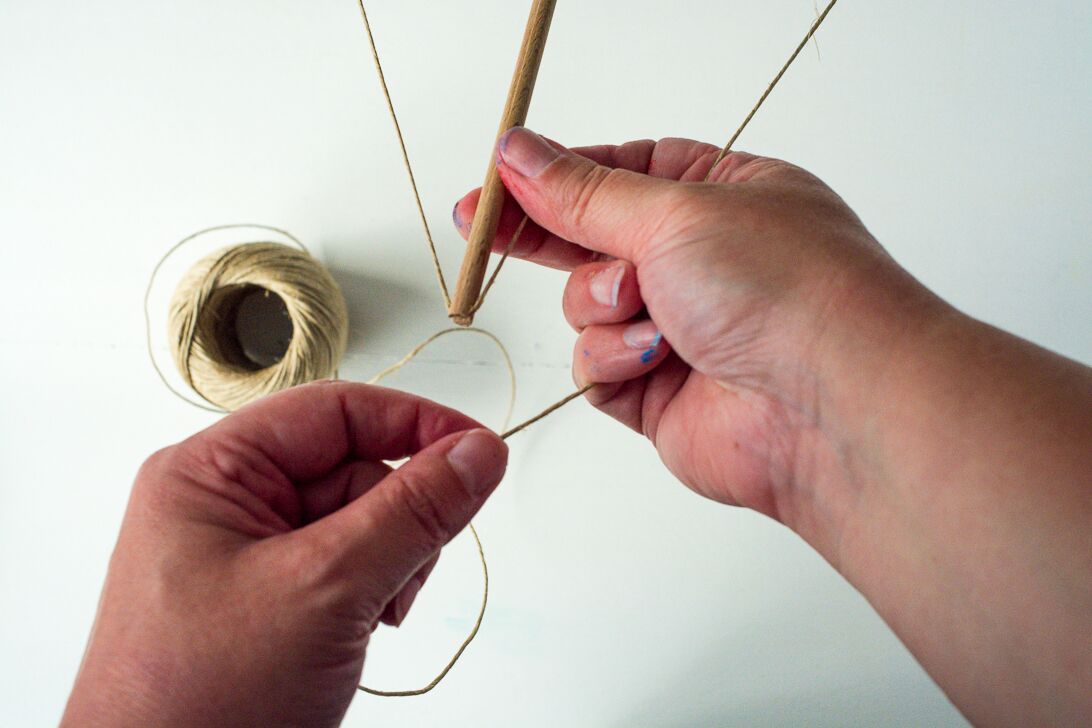
Reinforce the knot with tape if necessary. Place the kite frame on top of the paper. Cut the sail slightly larger than the kite frame. Add glue to the seam and fold it over.

Attach a flying line to the kite and add a tale made of ribbon, fabric or paper strips. Or add a length of string with paper or fabric bows every 16�.


The kite is ready to fly! Go outside and find out if it will sail!Not into diamond kites? Or do you want to make a different kind of kite? No problem! You can use Gelli� printed kite paper with any type of kite building method you want!


Materials
Gelli� Arts:
Other:
Transparent paper (Folia) or deli paper
Acrylic paint (Galeria)
Wooden dowel or bamboo sticks 1/4� wide
Hand saw
Transparency
Craft foam
Cardboard
Star shaped sequins
Star stamp roller (HEMA)
Craft sticks
Scissors
Ruler
Glue stick (Pritt)
Cosmetic sponge
Duct tape
String
PS: Please�share your prints with us on our Facebook page, or on Instagram using the hashtag #gelliprint #gelliarts and #gelliplate. Tag us with @gelliarts on Instagram and Twitter too! We love to see what you're creating!!
Remember, we now have Gelli partners all over the world, so it's easier than ever to find a Gelli retailer near you!


EmoticonEmoticon