Showing posts with label cardmaking. Show all posts

Sunday, February 22, 2015

Printing with Gelli Arts� Printing Plates and DIY Foam Printing Plate Stamps!

Easy-to-make foam printing plate stamps create fabulous textured Gelli prints! Watch this video to see how to create DIY foam stamps for unique prints on cards!

FYI - Joan did this project a few years ago and it was such a big hit - we decided to create a DIY Card Printing Kit and a DIY Stamping & Printing Kit for you!  You can follow along her blog using the items in your new kit.  Feel free to use additional items to create textures or additional colors of acrylic paints!  You can make similar stamps with the foam sheets included in your kits.  

Now on to Joan's original blog!  Have fun!


They're so easy and fun to make, you'll have a collection of these stamps in no time! 


Express your creativity by making the stamps for printing your cards! 


There's a variety of materials that you can use to make a texture stamp. Here we're using thin sheets of foam�available at art stores for use as printmaking plates. It cuts easily with scissors or a craft knife�and drawing into it with a pen, pencil, stylus or other pointed tool gives you endless design opportunities! 


Decorative-edge scissors cut smoothly through the thin foam material�and hand punches work well too! If you have a die-cutting machine (like a Cuttlebug, etc.)�you can run it through with an embossing folder and create a very cool embossed surface on the foam. Then cut your own shapes from the embossed printing foam! 


Instead of the foam sheets for printmaking, you can also use styrofoam plates or repurposed clean food trays. 

Incise lines into the pieces with a pencil, ballpoint pen or stylus. Cut or punch out some small areas. The design can be simple shapes, or as intricate as you want. You can plan your design beforehand, or just wing it! 


As you make your marks in the foam, keep in mind that what you see is what you get. So that means you can write words in the foam too! No need to figure out reversals�how perfect for adding a sentiment to your cards! 


The prints in the video are made on the 5"x7" Gelli plate  �using Amsterdam Standard Series Acrylic paints and Pebeo Studio Acrylics

(You can use the 5" x 5" Gelli� plate and our new Gelli Arts� premium acrylic paints in your kit).


Strathmore has a new line of printmaking paper and they've made it into beautiful card and envelope sets. The cards and envelopes shown here are all printed on Strathmore Printmaking Cards.


The following steps describe the process shown in the video for creating the Gelli printed card: 
  1. Roll a thin layer of acrylic paint onto the Gelli plate with a brayer 
  2. Press a texture tool (like bubble wrap) into the paint 
  3. Cover with your card and pull a print 
  4. Wipe the plate clean (not essential�but makes a nice clean print) 
  5. Roll a layer of a contrasting color onto the plate with a brayer 
  6. Place your foam stamps on the painted plate 
  7. Cover with thin paper (such as deli paper)�to press the stamps into the paint and remove the paint from the plate around the stamps 
  8. Remove the cover paper and remove the foam stamps 
  9. Place your printed card on the Gelli plate to print a second layer 
  10. Rub to transfer the paint and pull your print�the second layer on your card!
TIP: Your printed image will 'pop' more if the paint colors for each layer are of different value (light/dark). You'll get very different results with transparent paints vs. opaque ones. Metallic paints also offer an exciting option as one of the layers. 


While you're printing your cards, also print on the envelopes! 

There are various ways to create a blank space for the address. Here are a few suggestions: 
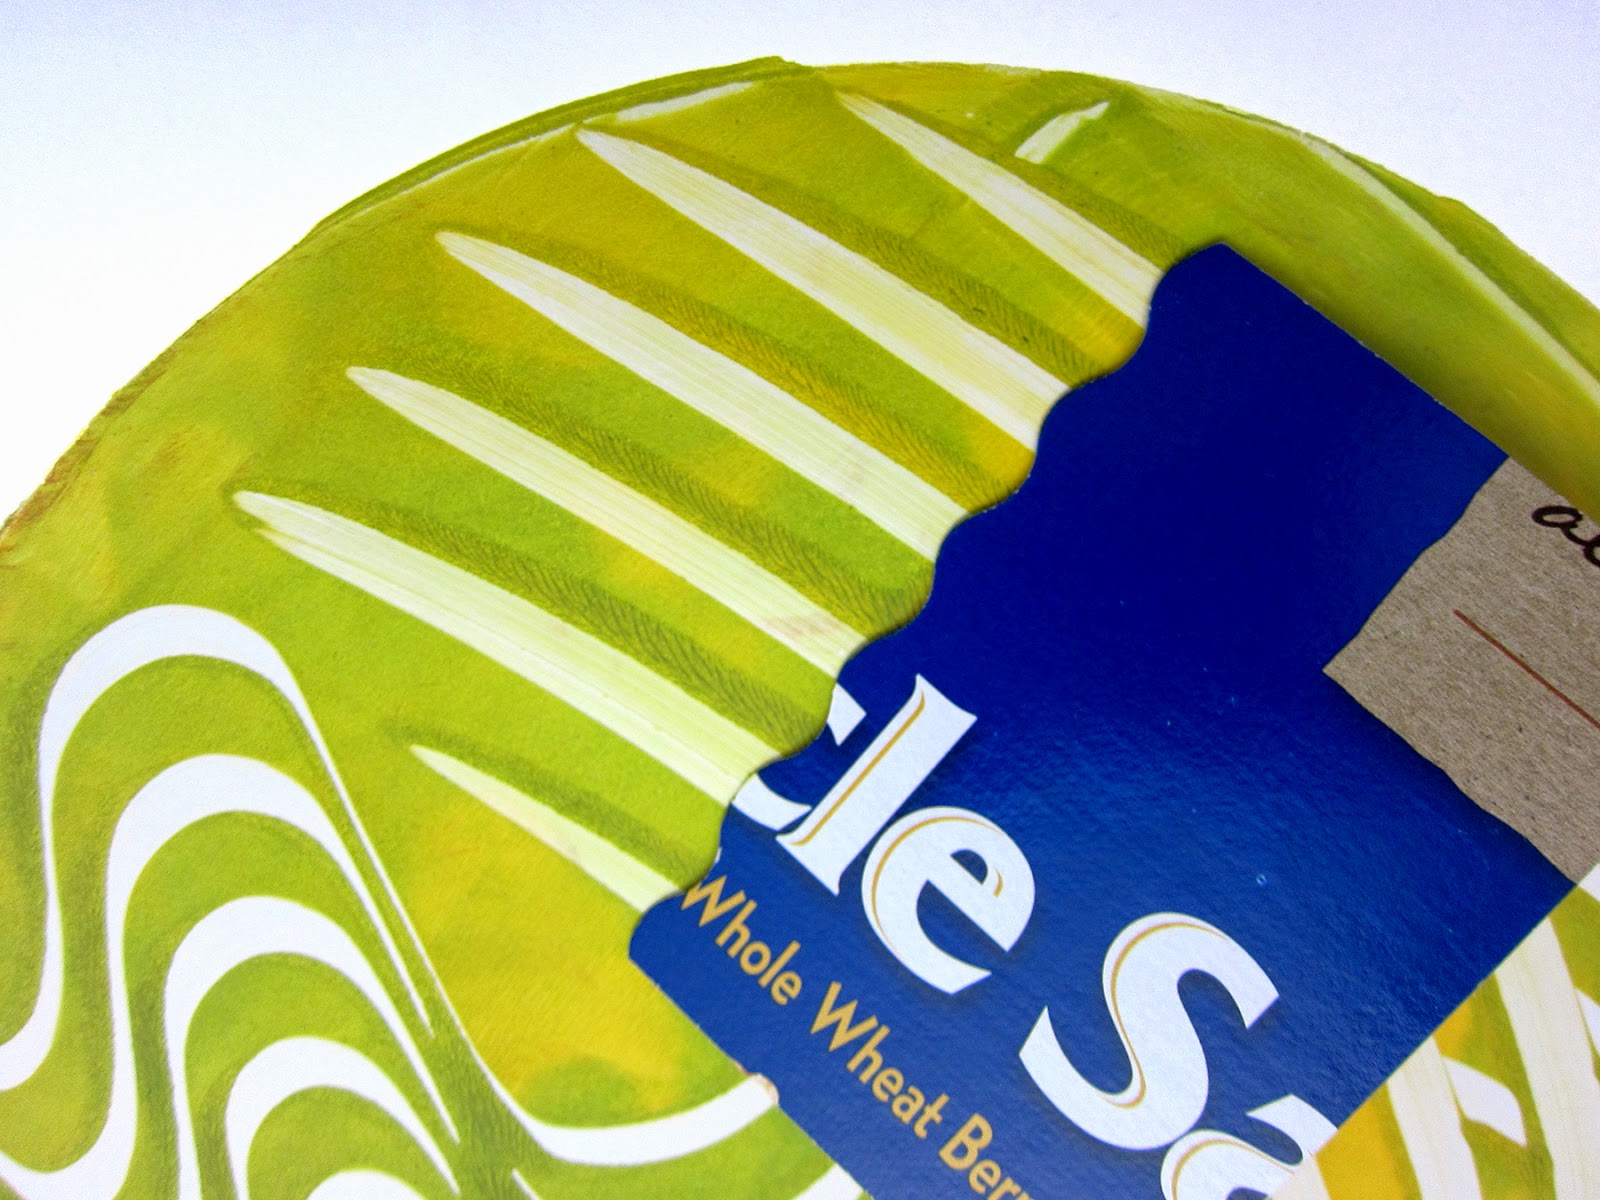
  • Strategically place a piece of torn or cut paper on the painted, stamped Gelli plate to create a blank space. 
  • Place a removable label on the envelope as a mask. Print over it�then remove the label. 
  • Scrape or wipe off an area of wet paint on the Gelli plate, then print your envelope. 


Receiving hand-printed cards and envelopes is always special! Printing your unique stamp images on beautiful paper enhances your artwork and shows the love! 

THIS GIVEAWAY IS NOW CLOSED!!!!

Winner is Roberta K!


And to show OUR love�we have an exceptional GIVEAWAY for cardmaking!!! 


The prize kit includes: 

1 - 5"x7" Gelli Arts Gel Printing Plate 
1 - Strathmore Printmaking Cards - Package of 50 Cards and Envelopes 
8 - Amsterdam Standard Series Acrylic Paint - 120 ml tubes (4.1 fl. oz.) 
1 - Speedball 4" Pop-In Soft Rubber Brayer
1 - Inovart 'Presto' Foam Printing Plates - Package of 20 - 9"x12" sheets 

To enter the giveaway, click on the red "ENTER GIVEAWAY HERE" button below! (This will ensure that we can contact the winner and that entries are limited to one per person. One winner will be selected from all the entries via a random number generator to receive this very special giveaway!) 

Entries will be accepted until Wednesday, February 25th at 1pm. Our lucky winner will be contacted by email and announced here on the blog and on our Facebook page no later than Wednesday, the 25th at 5pm


THIS GIVEAWAY IS NOW CLOSED!!!!


Special thanks to our friends at Strathmore for their generous donation to our giveaway prize! 

Remember, we now have Gelli partners all over the world, so it's easier than ever to find a Gelli retailer near you! 


Good Luck and Happy Printing! 
Read More

Thursday, September 18, 2014

Gelli Printing with DIY Combs

Combs make such interesting patterns in Gelli prints! Watch this video to see how easy it is to make your own combs from everyday materials!


Using combs ranks among my favorite methods for creating patterns and mark-making in 
monoprinting. In fact, I've included several examples in my new book, Gelli Plate Printing, 
demonstrating how to make your own combs.


The comb is an effective tool for creating dynamic lined patterns. There are many durable 
materials that you can easily cut teeth into to create a comb tool. The fun is in making a bunch of custom combs that can produce an assortment of different lines and widths.


Among my favorite combs are those made from eraser caps! Placing the eraser cap on a 
pencil first makes it easier to handle while cutting. Work on a cutting surface, and use a craft knife to cut tiny V-shaped notches in the tip of the eraser. This creates a versatile mini-comb! Try using it for making cross-hatch marks... and all kinds of gestural swipes! Gotta love those tiny lines! Great for making gestural lines and marks!


TIP: It's best to avoid letting acrylic paint dry on this tool, but if it does, use your craft knife to carve out any dried paint that may become clogged between the comb's teeth.

Erasers are perfect for turning into combs! Simply cut notches out of the edge of an eraser 
with a craft knife�and you're good to go! If you carve your own stamps, you may have some left-over carving material. That's perfect for making combs too!


Old credit cards, hotel keys and other laminated plastic cards are great for making into combs and scrapers! Sharp scissors are a good choice for making your cuts. But avoid making pointy teeth, as they could scratch the surface of the Gelli plate.


Another fun method for making combs is to use decorative edge scissors on a piece of cardboard (like cereal boxes) or craft foam. Simply cut straight across with wavy or zigzag scissors for an instant comb!


There are so many materials you can use to make your own collection of combs! And they're fast and easy to make! Try a few and have fun making fabulous combed prints! To create monotypes with your DIY combs, simply swipe the combs through the wet paint on a Gelli plate, cover with paper, rub to transfer the paint and pull your print. Have fun exploring different ways to create lined patterns! (For more combing ideas, see blog: "Wipe Out Monoprinting")
 

FYI� Materials used to create the prints in the video:

This Contest is officially CLOSED 


And we have a SPECIAL GIVEAWAY!!! Including an autographed copy of my new book, Gelli Plate Printing!


Leave us a comment below and let us know your thoughts on the blog  - we love hearing your feedback. 

To enter the giveaway, click on the red "ENTER GIVEAWAY HERE" button below! (This will ensure that we can contact the winner and that entries are limited to one per person. One winner will be selected from all the entries via a random number generator to receive this fabulous giveaway!) 

Entries will be accepted until Monday, Sept. 22nd at 12 noon. Our lucky winner will be contacted by email and announced here on the blog and on our Facebook page no later than Sept. 22nd at 5 pm!


  This Contest is officially CLOSED


And a special thanks to our friends at DecoArt� for generously donating the paint for this 
giveaway! 

Good Luck and Happy Printing!

Read More

Friday, May 24, 2013

Gelli Transfer Prints!

Gelli plates have a unique surface that allows you to pull monotypes on clear adhesive film! Watch this video and see how easy it is to do!


For this fun and easy technique you'll need:
NOTE:  Packing tape has its size limitations. If you want to make a larger or full-size print, use cold laminating film. Clear Con-Tact paper will also work, but it's not as "clear" or shiny as tape or laminating film.


Here's the process:

  • Apply acrylic paint to your Gelli plate. Use a brayer to roll into a thin layer.
  • Use texture tools to remove areas of paint from the plate. Clear areas provide interesting collage and gilding opportunities!          
    • Foam stamps, scrapers and combs are great for removing areas of paint. Use cotton swabs to draw lines and make dots.
    • NOTE:  The print will look exactly like what is on your plate � not reversed!
    • So take your time and have fun developing the image on your plate! To add more layers, let the paint from the previous layer dry first � so the paint doesn't lift as you add more.
  • When you're done creating your image, allow the paint to dry completely. Yes!
    • NOTE: This technique only works when the paint is TOTALLY DRY!
  • Place packing tape � STICKY SIDE DOWN � onto the dry paint
  • Burnish to transfer paint (a bone folder is helpful). Slowly peel the film off of the plate. Voil�!
This Gelli transfer print below is being pulled 
on cold laminating film, instead of packing tape.
What a fun way to clean your plate!

TIP:  If there are areas of paint that didn't transfer, replace the 
tape and burnish again. If the paint was completely dry, most 
(if not all) of the paint will transfer to the tape.

At this point, you can choose to use your Gelli transfer tape in your journal, collage, ATC's, cardmaking, art quilting etc. 

OR... you can continue with the following steps :)

NEXT... Embellish your Gelli Transfer Tape


The areas that are clear will still be sticky from the adhesive on the tape. You can use this sticky area to add further interest to your print! See some great options below!


  • Option 1: Brush Perfect Pearls (mica powder) onto the sticky areas for a fabulous effect!  
    • The clear areas will become opaque and sparkle with a metallic look! 
  • Option 2: Metal leaf will also adhere to the clear sticky areas.  
    • TIP:  Keep metal leaf away from your Gelli plate to avoid loose and flyaway bits from sticking to it :) 
  • Option 3: You can also add collage elements under the print to peek through the paint. Text adds a great layered look!

Remember, the shiny side of the tape is the print (right) side. You've been embellishing the back!

If the tape is too shiny for your taste, lightly sand the surface with an extra-fine grit sandpaper to make it more matte.


Gelli Transfer Film prints make great additions to art journal pages, collage, ATC's, cards, art quilts, paintings ... and other mixed media projects! 

This is a fun and easy technique! Try it!!!

For more information on this technique, please take a look at the previous blog titled "Gild the Gelli!"

This Contest is officially CLOSED


And here's our giveaway:


Our fabulous prize package includes:
  1. One (1) 6"x6" Gel Printing Plate 
  2. One (1) package of Copper Leaf (25 sheets) by ArtMinds 
  3. One (1) package of Ranger Perfect Pearls (set contains 4 colors and 2 brushes)

One lucky winner will be chosen at random on Wednesday, May 29th and announced here on the blog and on our Facebook page.

To be entered to win, simply leave a comment here on our blog or on our Facebook page. 

SHARE this blog post, and we'll add your name again for another chance to win!  
You can share via Pinterest, Twitter, Youtube or your blog! Just let us know where you've shared and we'll happily enter you twice :)

This Contest is officially CLOSED


Good Luck and Happy Printing!


Read More