Looking for a perfect substrate for stamping with 4",6" and 8" Round Gelli� plates? I found one I'm really excited about!!
It's a blank 8mm habotai silk scarf measuring � 14"x72" � from Dharma Trading Company! They offer a fabulous variety of options, and this size is exactly what I was looking for.
The sheer and lightweight habotai silk (also known as 'China silk') is easiest to print on if you first stabilize it by ironing the scarf onto freezer paper. And because this scarf is 6 feet long � you can easily roll up the freezer paper and unroll as you work on sections.

I used plastic clips to keep the scarf neatly rolled up while I worked on one area at a time.

To stamp with a Gelli� plate, place the plate on an acrylic block or sheet. Clear mounts let you place your imprint where you want it. I use an 8-1/2 x 11 inch acrylic box frame to mount my 8" round Gelli� plate. It works great for stamping! The gel plates will stay in place on their acrylic mounts until you remove them.

Maintaining the soft hand of the silk fabric is important for the scarf to drape nicely. There are paints specifically made for painting on silk, but they are very thin and tend to bead up on the gel plate � so they don't work well for monoprinting or stamping.

I used DecoArt's SoSoft Fabric Paint and find it leaves the fabric nice and soft. However, it's important not to use a thick application of paint. This is not the ideal project for layered paint techniques. If paint builds up on the sheer fabric, it changes the hand.

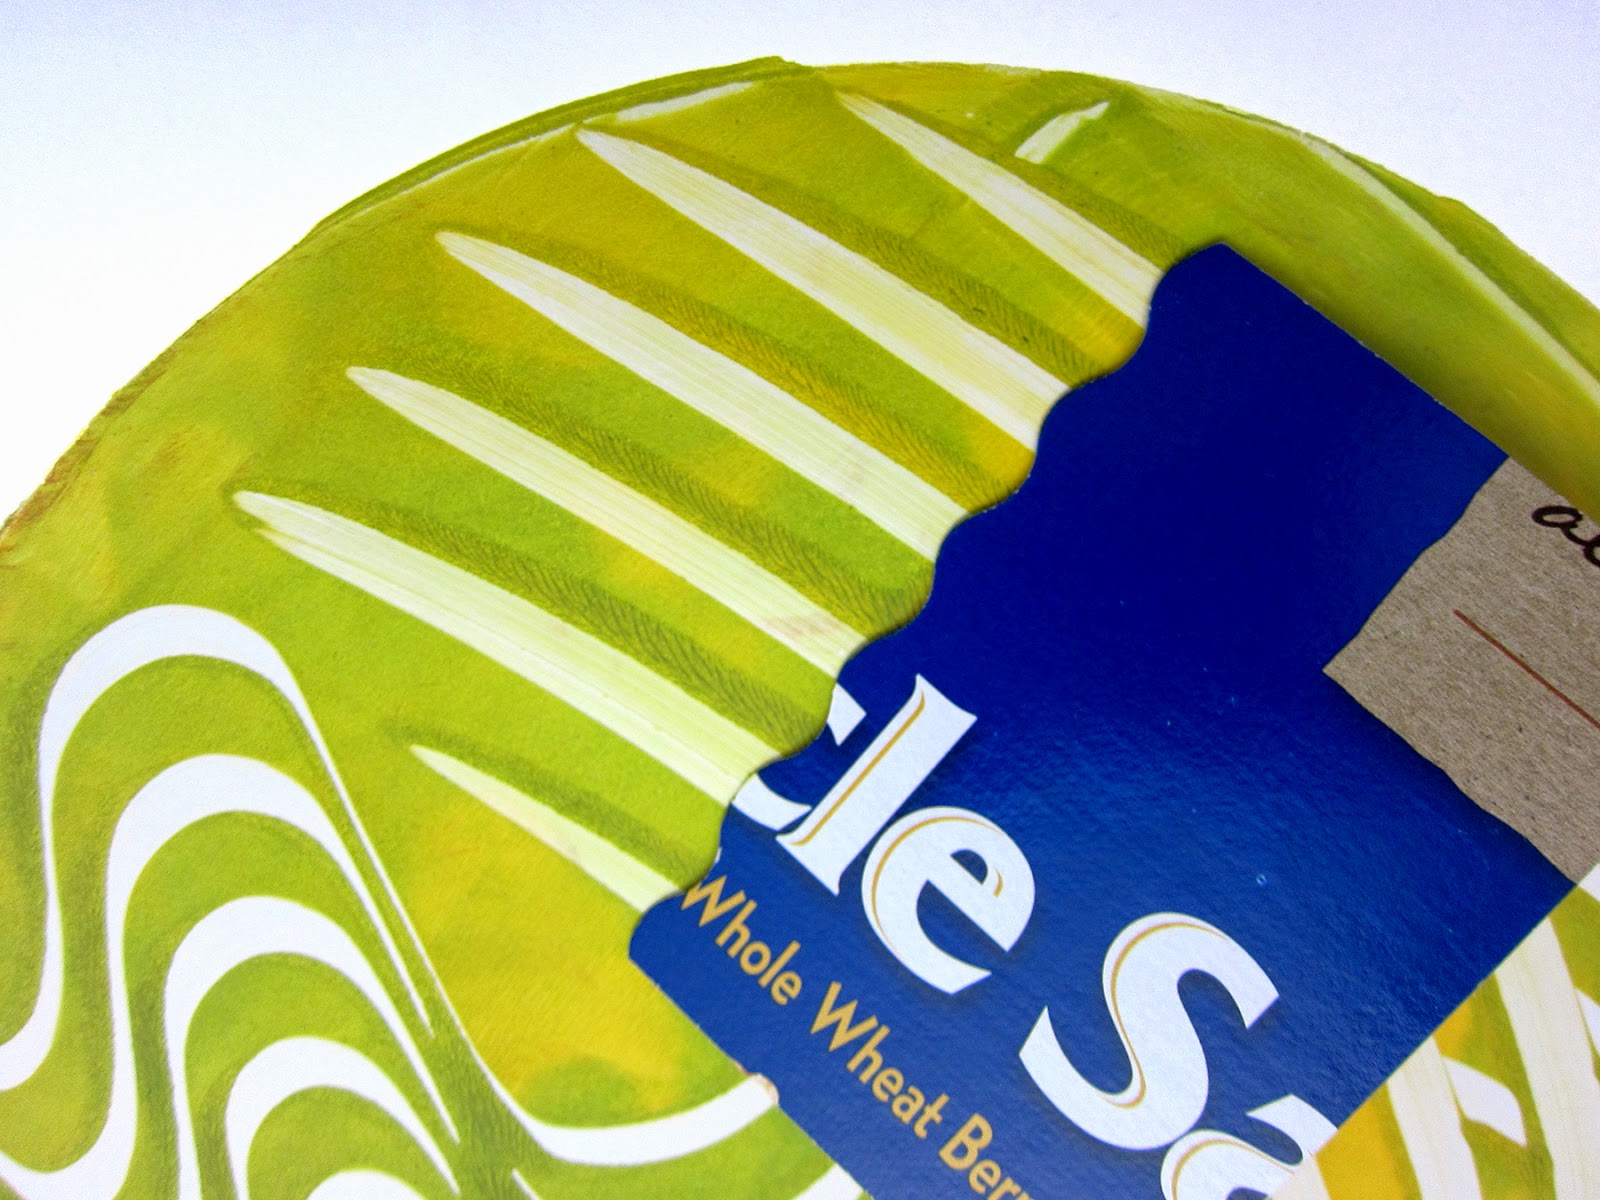
Instead of rolling a layer of paint on the gel plate with a brayer as I usually do, I painted thin layers with a flat brush. I love the look of loose brushstrokes in the circle images! And it's so much fun blending colors and swirling brushstrokes � going in circles!

All marks and designs on the painted gel plate were made using the following tools:
- Catalyst Wedges and Contours
- Princeton Art and Co. paintbrush (6250 Series #6 Flat)
- Colour Shapers (Size 6 Firm: Taper Point and Flat)
- Palette knife
- DIY eraser cap comb

The result is a painterly look, which works nicely with the soft silk.

This is a fast and fun process. Here are the steps � Easy as 1-2-3!!
- Brush fabric paint onto the gel plate with painterly brushstrokes.
- Make subtractive marks in the wet paint with combs and soft-tipped tools.
- Stamp the painted plate onto the fabric.

I worked from one end of the scarf to the mid-point � then started at the other end and worked back to the middle. But if you prefer, you can easily work from one end to the other. Using the three round plate sizes makes it especially easy to fit the circle images together into a harmonious design. And variation in the circle sizes adds visual interest to the overall pattern.

TIPS:
To keep your colors clean while brushing them onto the plate � use analogous colors. Those are the ones that are next to each other on the color wheel.

Another simple, but sometimes overlooked, tip for clean colors is to give your brush a good rinse before switching colors. It's amazing how quickly colors can turn to mud if you don't.

For this project � after each print � I wiped the plate with a spritz of water and a paper towel to remove any residual paint on the plate. It only takes a second and helps keep the colors clean and bright.

SoSoft Paints don't require heat-setting � and they dry quickly so you can keep moving on to the next area.


You'll notice for this project I chose not to overlap the circle imprints. Mostly, because I wanted the design to feature individual circles! But also, I wanted to avoid overlapping images where layered paint might build up and alter the hand of the fabric.

After the scarf is Gelli� printed � it's done and ready to wear!


Now isn't this the perfect Spring accessory! A beautiful and breezy handprinted scarf! Go ahead and make one...or a few...and remember, it's a wonderful Mother's Day gift!!

Remember, we now have Gelli� partners all over the world, so it's easier than ever to find a Gelli� retailer near you!
Products used in today's blog:
 |
| 4" Round Gelli� Plate |
 |
| 6" Round Gelli� Plate |
 |
| 8" Round Gelli� Plate |
 |
| 8mm Haboti Silk Scarf |
|
|
|
|


|
|
|
|


|
|