Wow! Words cannot express how excited I am to be sharing my own blog post with the Gelli Arts� community. Being a part of the Gelli Arts� Artists Team has continually pushed me to create more art, and it truly has become a priority in my daily life. Learning from the other artists (and of course the entire Gelli Arts� community), has been fun and exciting over the past few months. Now it is my turn to make a splash! Make sure to check out the GIVEAWAY at the end of my blog!!

For this project, I was inspired by the Gelli Arts� August theme - #GelliWave! I decided to create seascapes by masking parts of the Gelli Arts� 5� x 5� plate as I layered and layered all the waves. I used supplies from the Gelli Arts� Card Printing Kit to create the background of the cards. For a list of all products used for this project, please see the materials section at the end of the post.
TECHNIQUE:
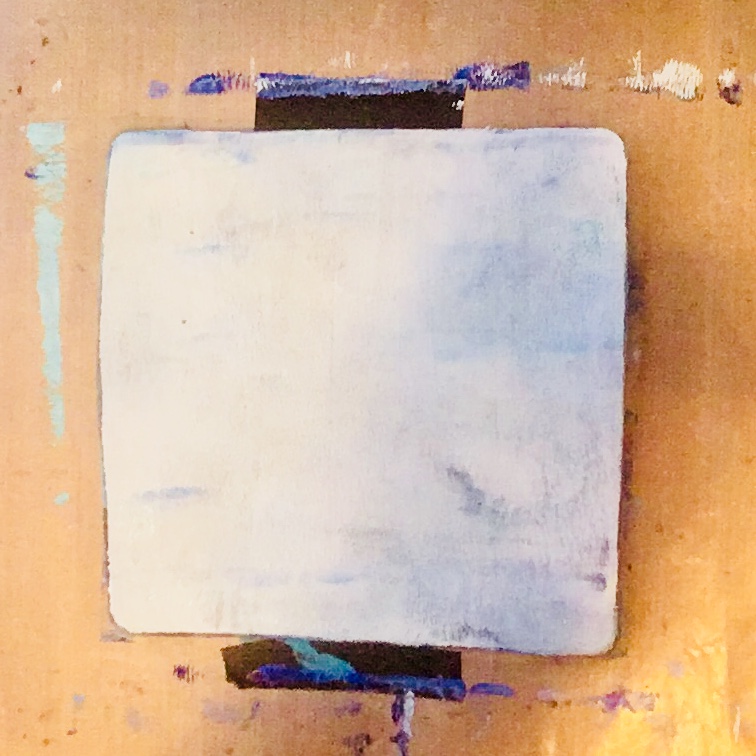
Step One � Create a Spectacular Sky
Using Gelli Arts� premium acrylic paints Cosmic Blue, Freshwater, and Snowbound, dab each color, spreading and mixing to create a light blue right on the plate. Use bubblewrap to lift paint and create texture, or perhaps a cloud stencil over the paint. Apply, burnish, and lift a 5� x 5� piece of card stock to create the first layer of clouds and sky as a base for the next layers of the seascape. Using the precut card stock will help you keep it aligned as you layer.


To make the clouds stand out, start with a solid color background. Apply white paint to the gel plate, and lay down the cloud stencil. Put the solid background on top and try to use it to pick up all of the wet paint. Remove the stencil and use a new paper with a solid blue (or other solid color if you want to experiment) background to pick up the �negative� of the stencil. This technique really makes the clouds pop!


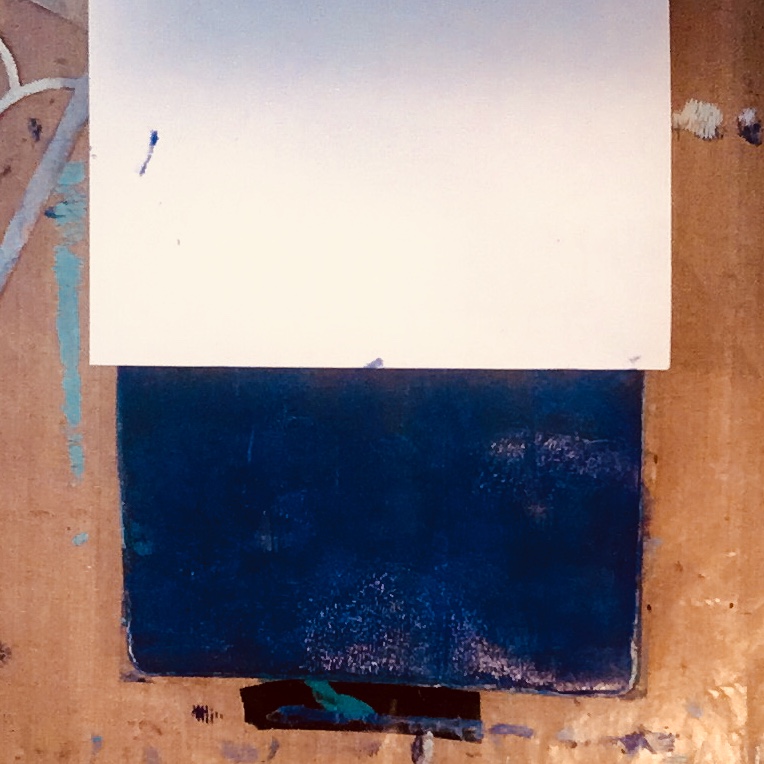
Step Two � The Horizon
For the horizon, I decided to go with Cosmic Blue (or a dark blue color). Apply the dark blue paint, then use the straight mask across the top of the plate. Placement of the mask will depend on how much sky you want to show. Play around and see what you like best.

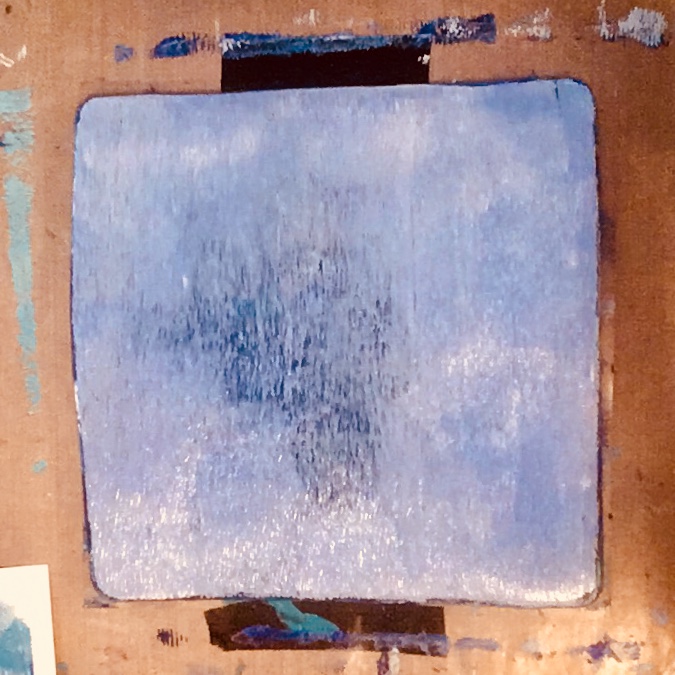
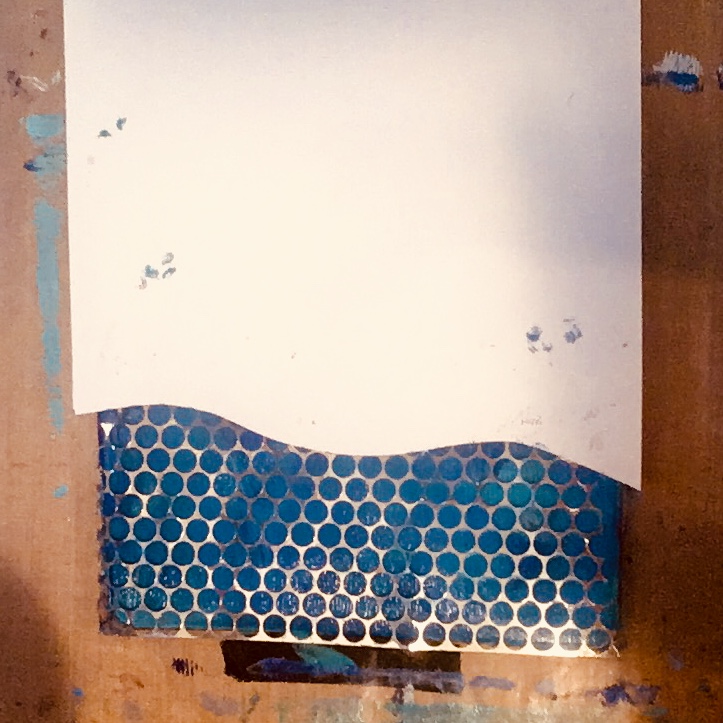
Using card stock and scissors, cut across the paper in �swoops� to create different masks for the waves. Then use these masks to block various sections of the print in order to give each print a wave-like effect. I recommend alternating from dark to light to dark, etc. as you layer the waves. Be creative and add some texture with stencils and combs to enrich your seascape!


Step Four � Find a Beautiful View
Now it is time to bust out a viewfinder. Find the perfect 4.5� x 4.5� square for your seascape card.


Step Five � Use Your Prints
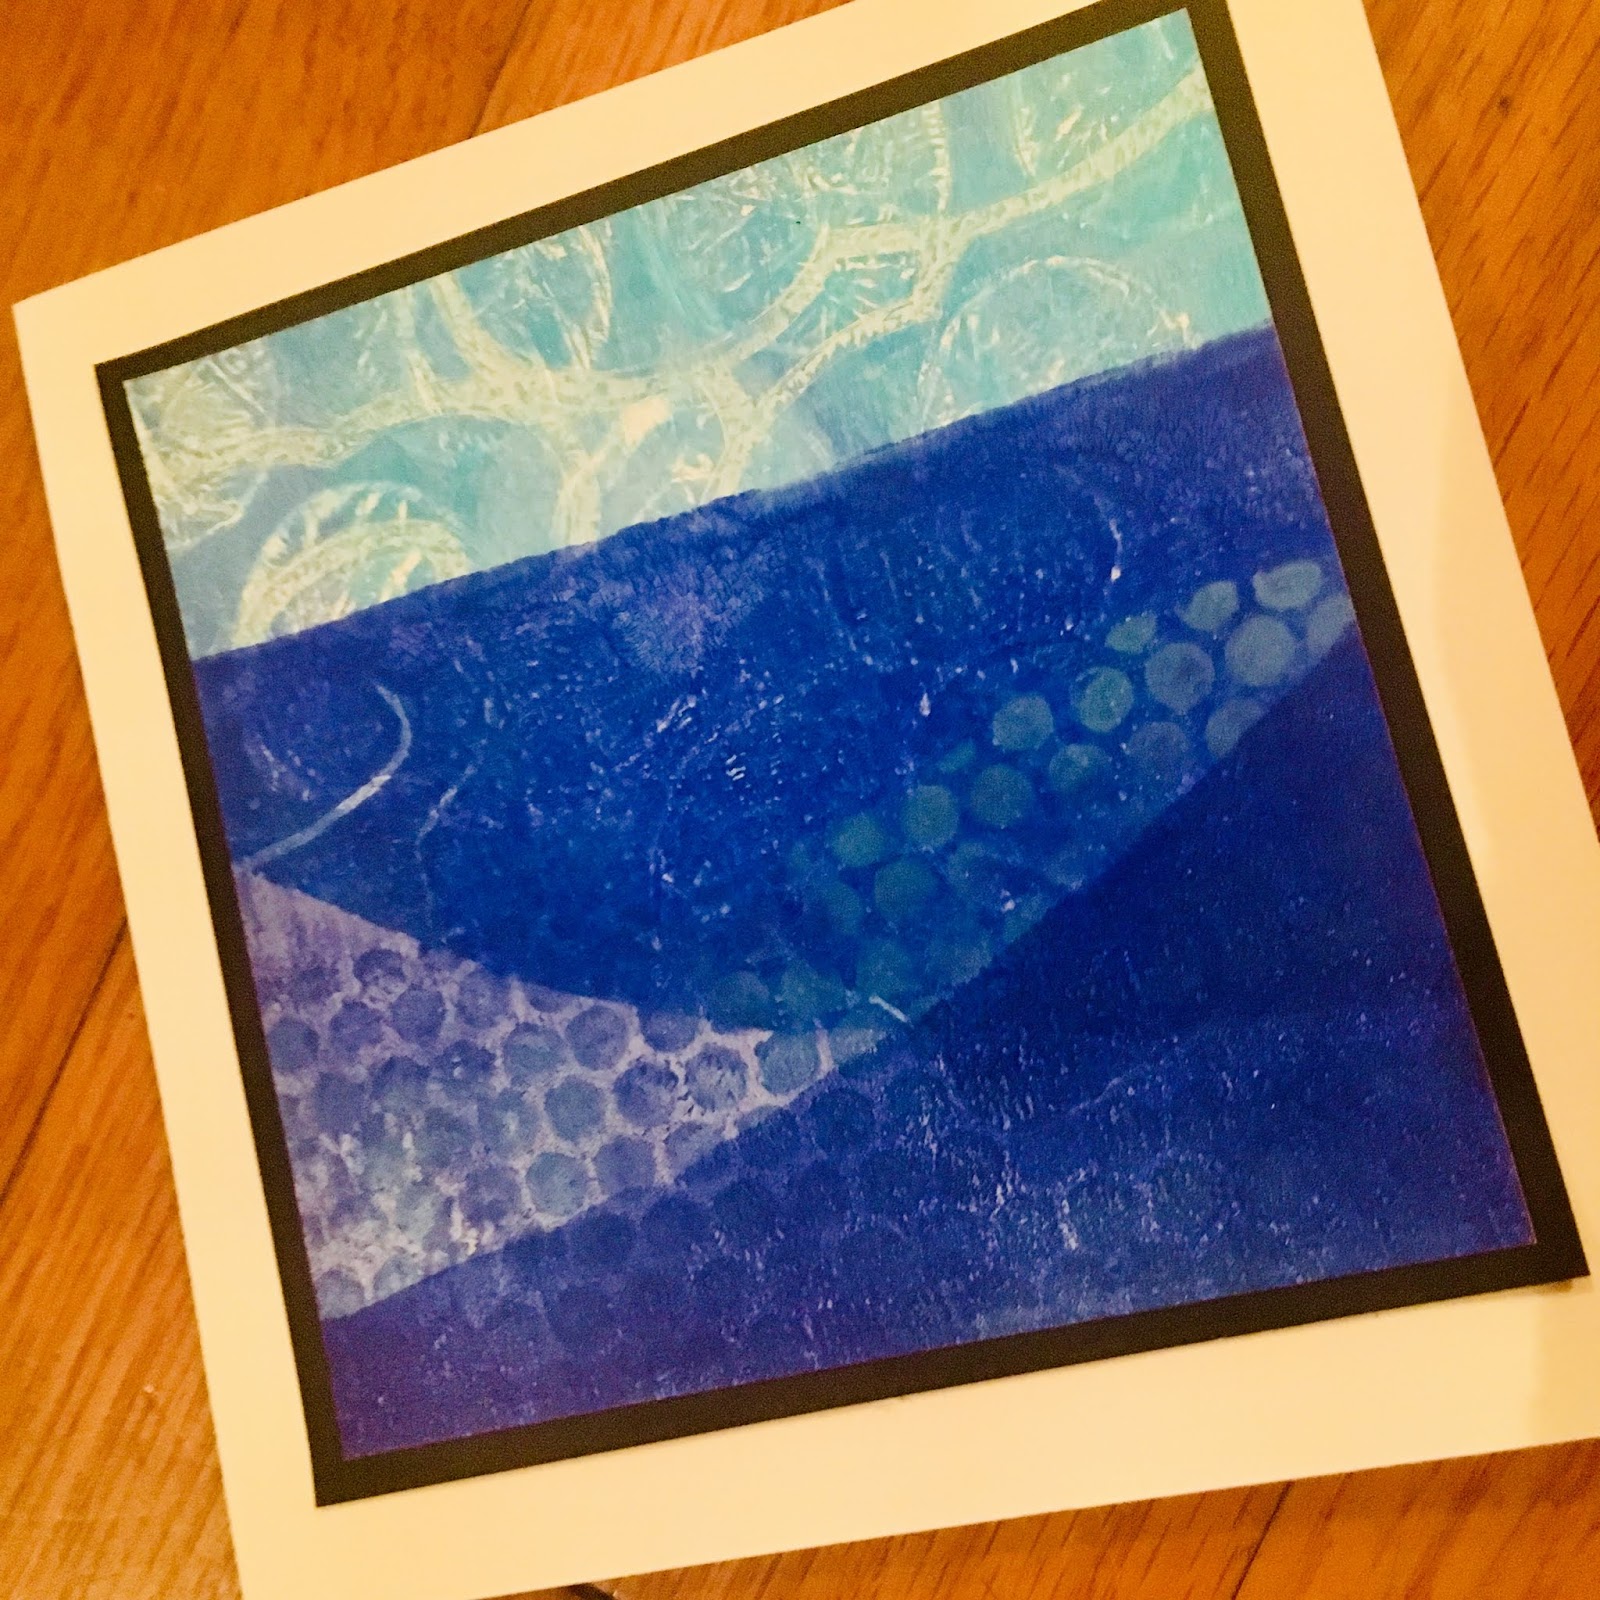
This card maker took the finished squares and mounted them on black paper, then on the 5� x 5� cards that came in the Gelli Arts� Card Printing Kit. I love the whimsical look of the cards! I suggest adding a ship or even a shoreline to give it a special touch. If you want to learn the story behind the design of this card head over to my website: https://smallbatch-cards.com/2018/07/14/batch-no-21/, and find Batch No. 21. It was my Father�s Day batch and a big hit with dads, sailors, and all those who love the sea!


Be sure to use #GelliWave when you share your own beautiful wave seascapes! You will be entered to win a $100 Gelli Arts� Gift Card in this month�s competition. Hopefully this post will help you get inspired and think about making some waves of your own!

Materials
Gelli Arts� Premium Acrylic Paints
-Cosmic Blue, Freshwater, and Snowbound
-Cosmic Blue, Freshwater, and Snowbound
Gelli Arts� 4� Roller
Gelli Arts� Mini Printing Tools - Set of 3
Gelli Arts� 5� x 5� Gel Printing Plate
5� x 5� Blank Cards
Bubble Wrap
White Card Stock
Black Card Stock
Cloud Stencil
Large Bubble Wrap
Double Sided Tape
Scissors
Get your supplies at www.gelliarts.com and use my code for a discount:

Also, check out my Instagram @smallbatchcards
� 2018 by Gelli Arts�, LLC Philadelphia, PA
All rights reserved.


EmoticonEmoticon