Baby wipes! I cannot live without them! I use them to blend colors, to remove too much paint from projects, to clean stamps, stencils, the Gelli� Plate and so much more.
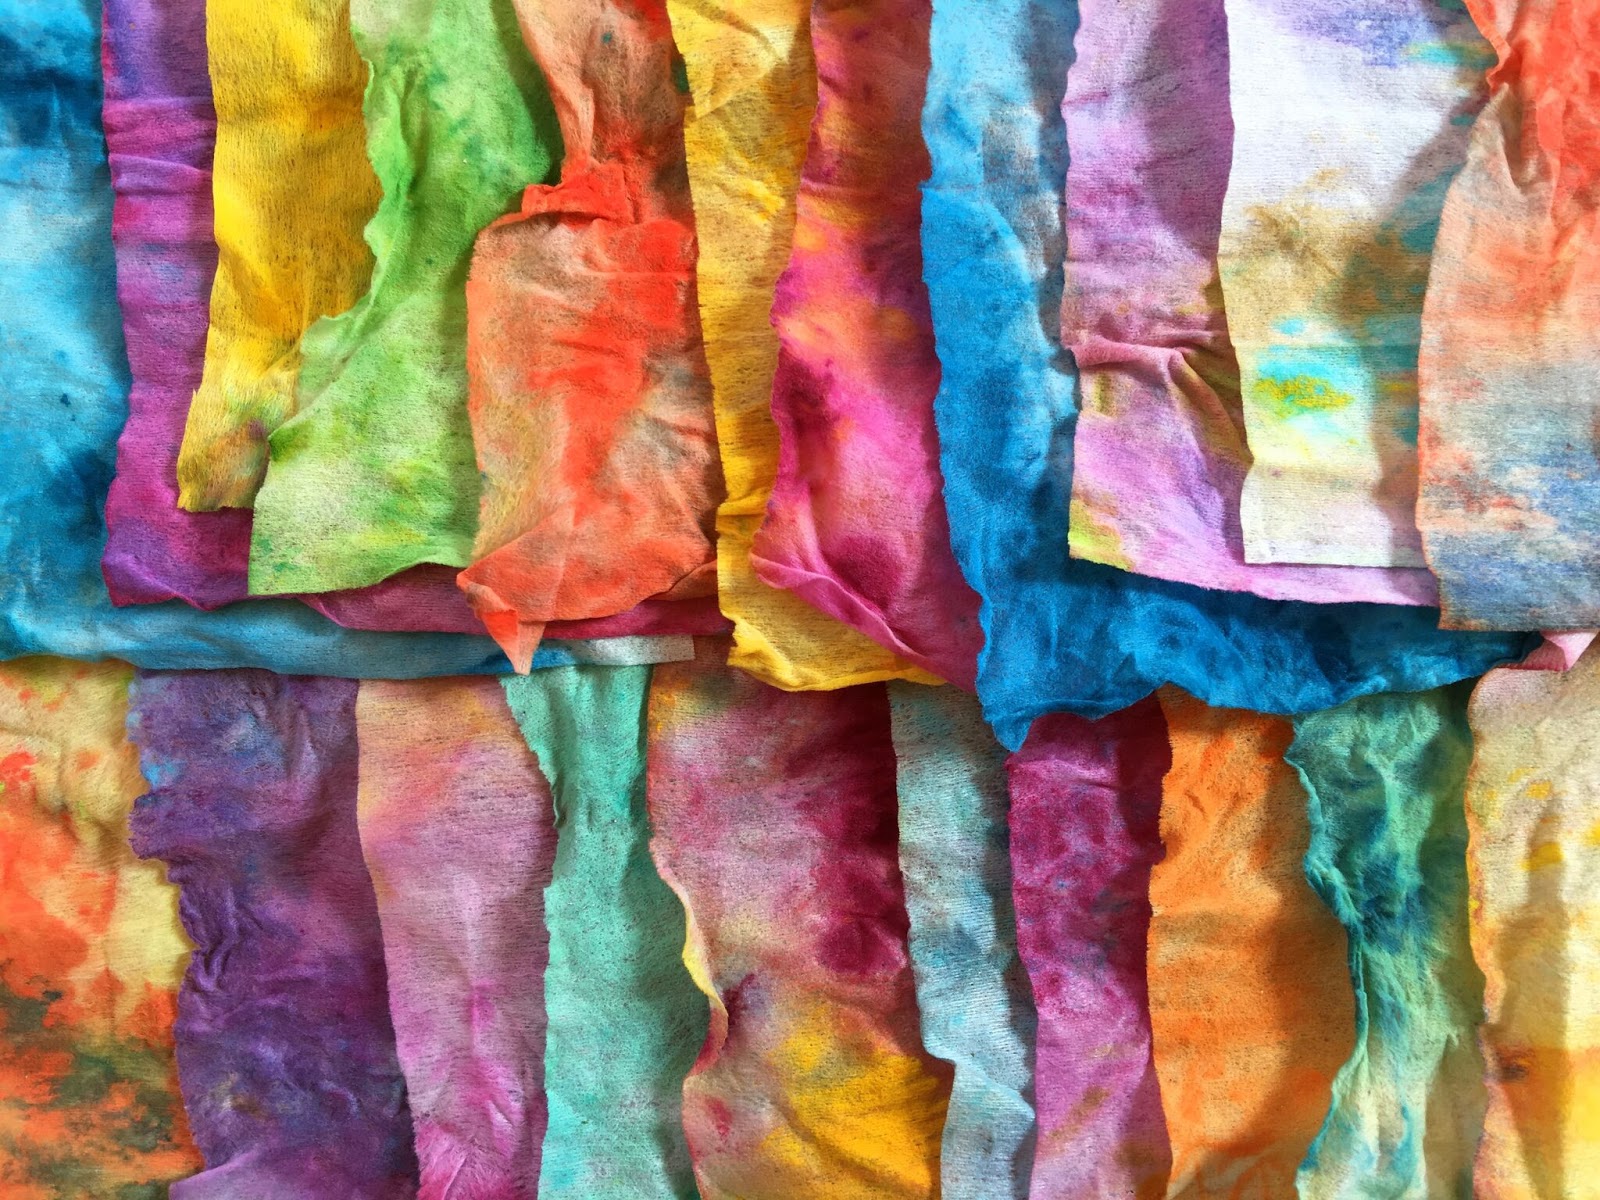
I realized that some of my used baby wipes had beautiful colors and I wondered if I could use them, once dried, as fabric. I collected and dried the lovely ones until I had a nice pile, then I started to play with them.
There are many awesome things you can do with used baby wipes since they are not as fragile as you might think. They are great for all kinds of sewing projects!

Today, I will show you how I used baby wipes and the Gelli Arts� Mini Triangle Plate to create a colorful pencil holder.
Before I start, I have to say that I am not a sewer. I hate sewing patterns; I do not measure or care for perfection. If you are not a sewer either, do not be intimidated by this post! I challenge you to get your sewing machine out and create something with fabric; you will be amazed by what you are capable of! So let�s go!
I started by selecting baby wipes in nice contrasting colors, as I wanted my pencil holder to be very bright and colorful. Of course, you could decide to combine more monochrome colors if you want.
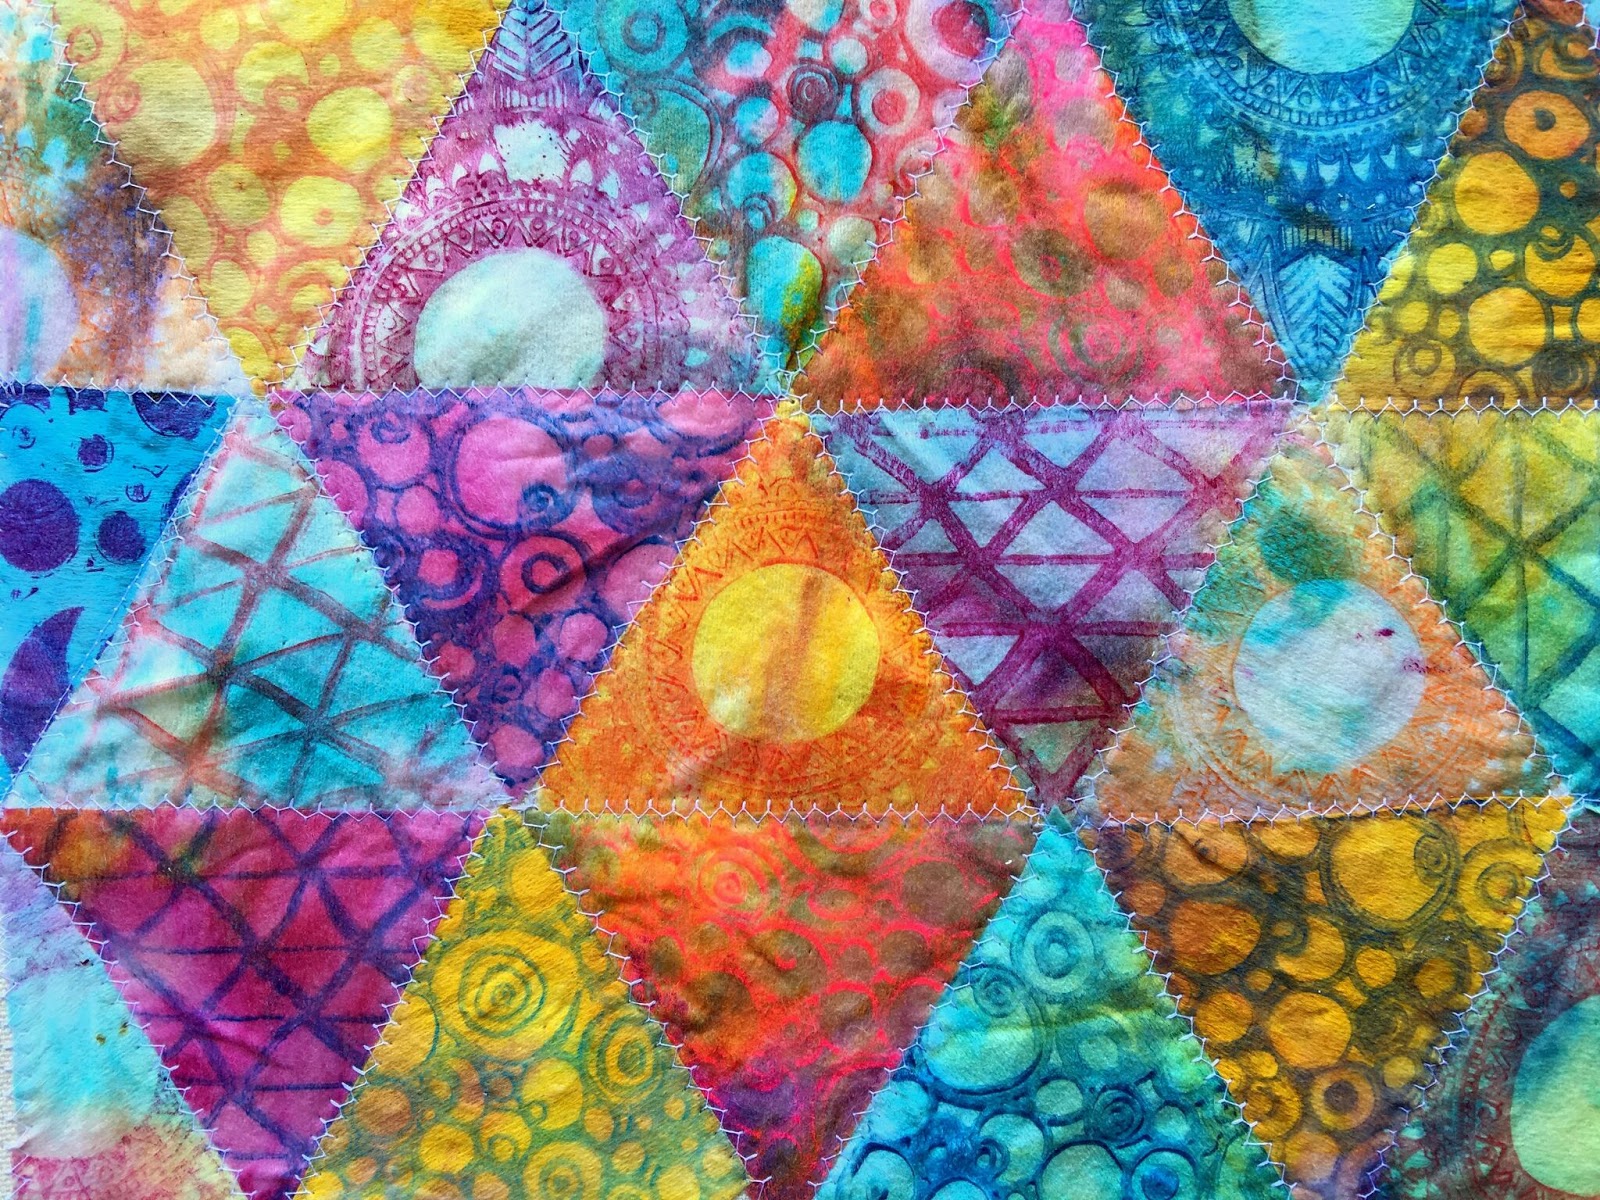
Then I decided I wanted to create a patchwork effect using the Gelli Arts� Mini Triangle Plate.
I rolled out some acrylic paint on my craft sheet and used my brayer to cover a rubber stamp with a nice even layer of paint. Using an acrylic block to hold the mini Gelli� plate, I took the paint from the stamp, transferred it to the Gelli� plate, and then stamped it on to the baby wipes.
You can also roll the paint on the Gelli� plate, use the rubber stamp to take away paint from the Gelli� plate and then stamp it on the baby wipes. This will give you a negative image of the rubber stamp.


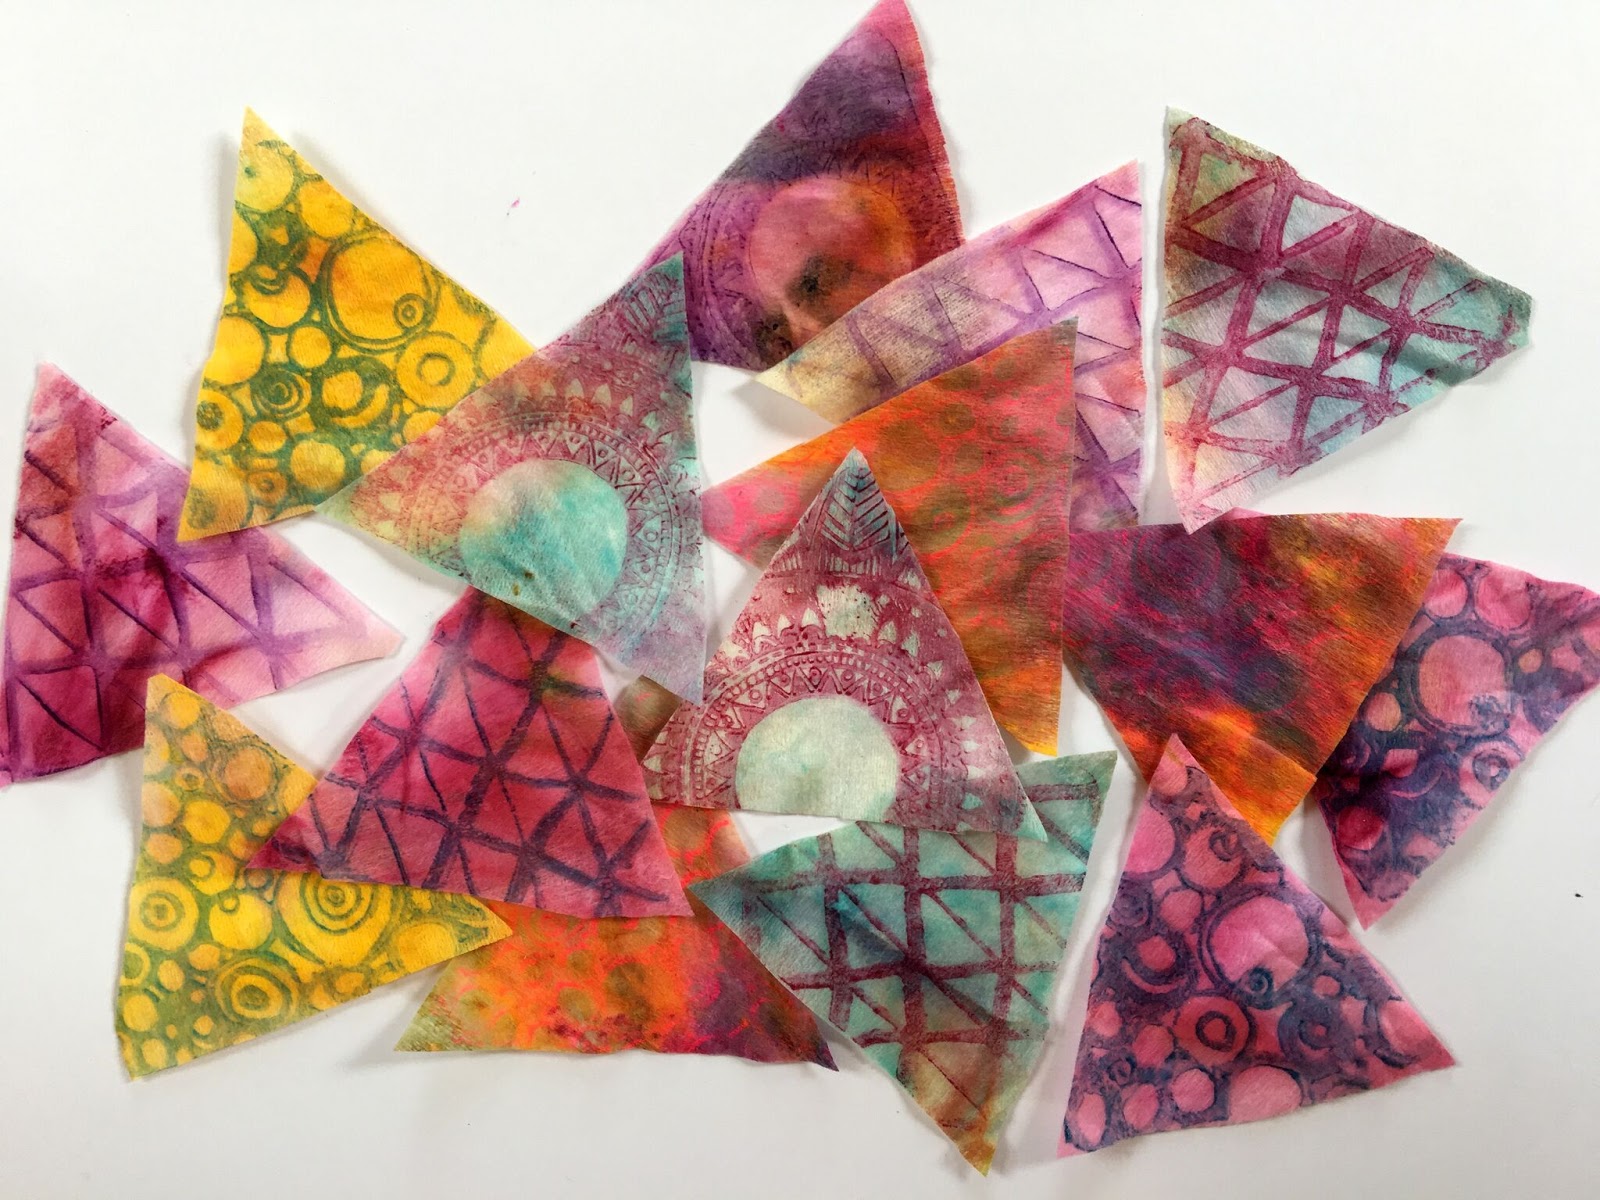
When I had enough triangles stamped, I cut them out. I roughly followed the edges of the stamped patterns. For me personally, I like a bit of imperfection, a bit of wonkiness. :)
If you want it to be more uniform, then you could cut out a triangle from chipboard and use that as a guide for cutting � all the triangles will be the same size and shape.
I took a piece of canvas fabric (~12" (30.4cm) x 17" (43.2cm)) spread it out and made a nice pattern with the triangles. I secured them to the fabric with pins. Then I cut the fabric to size, leaving about 5/8� (1.5 cm) border around the triangles.


I used my sewing machine to zigzag the triangles on to the fabric. I did not worry about the lines being straight; I just made sure that I did not miss any edges. The baby wipes are pretty stretchable and while I was sewing I stretched the triangles so the edges touched (or slightly overlapped) each other.

Then I took another piece of fabric that was just as wide as the first one but, 1 � times the height.
I then folded the bottom third of the fabric up on top of itself (this is to make the compartment for the pockets). You can watch my video to see how I did this!). In the end, I had the same size piece as the patchwork fabric. Then I sewed the compartments that will hold the pens and pencils.


When this was done, I placed one piece of fabric on top of the other with the right sides facing each other and sewed them together with about a 5/8� (1.5 cm) border from the edge. I used the stitching of the triangles as a guide. Leaving one side open, I then turned it right side out.


Then I folded the remaining �� of fabric inside and placed the beginning of a piece of ribbon in the opening. Finally, I closed this side as well by continuing to sew all around the edges.


And here is the final pencil case:


Thank you for stopping by! I hope you enjoyed this tutorial and got inspired to create your own fun projects using baby wipes and Gelli� Plates!
-Birgit Koopsen

GIVEAWAY IS CLOSED
Congratulations to this months winner!
Congratulations to this months winner!
To enter the giveaway, click on the red "ENTER GIVEAWAY HERE" button below! (This will ensure that we can contact the winner and that entries are limited to one per person. One winner will be selected from all the entries via a random number generator to receive this very special giveaway!) Entries will be accepted until August 22nd at noon EST. Our lucky winner will be contacted by email and announced here on the blog and on our Facebook page by 5:00PM EST the following day.
Giveaway includes:
Two Gelli Arts� Mini Plate Packs
Stamps (3)
Baby Wipes
Fabric
Paint
Brayer
Ribbon
Paint Brushes

PS: Please�share your prints with us on our Facebook page, or on Instagram using the hashtag #gelliprint #gelliarts and #gelliplate. Tag us with @gelliarts on Instagram and Twitter too! We love to see what you're creating!!
Remember, we now have Gelli� partners all over the world, so it's easier than ever to find a Gelli� retailer near you!


EmoticonEmoticon